
Recently, I saw a sudden surge in hacking attacks on my websites. A lot of websites were infected with malware.
That is the time when you usually panic. Not going to lie, I was terrified too at first.
But thankfully, I had BitNinja installed on my server, which threw the malware away from my website. In this BitNinja malware detector review, I will guide you on installing BitNinja and protecting your website from malware attacks.
Why Do You Need A Malware Detector & Removal?
Malware is a big problem for businesses, no matter what size. Malware can slow down your system, cause data loss, and even lead to financial theft.
So, If you’re also thinking about your website’s security, then you must spend some time in this article to understand how I protected my sites and removed the malware from the servers.
What Is BitNinja and what’s so special about it?
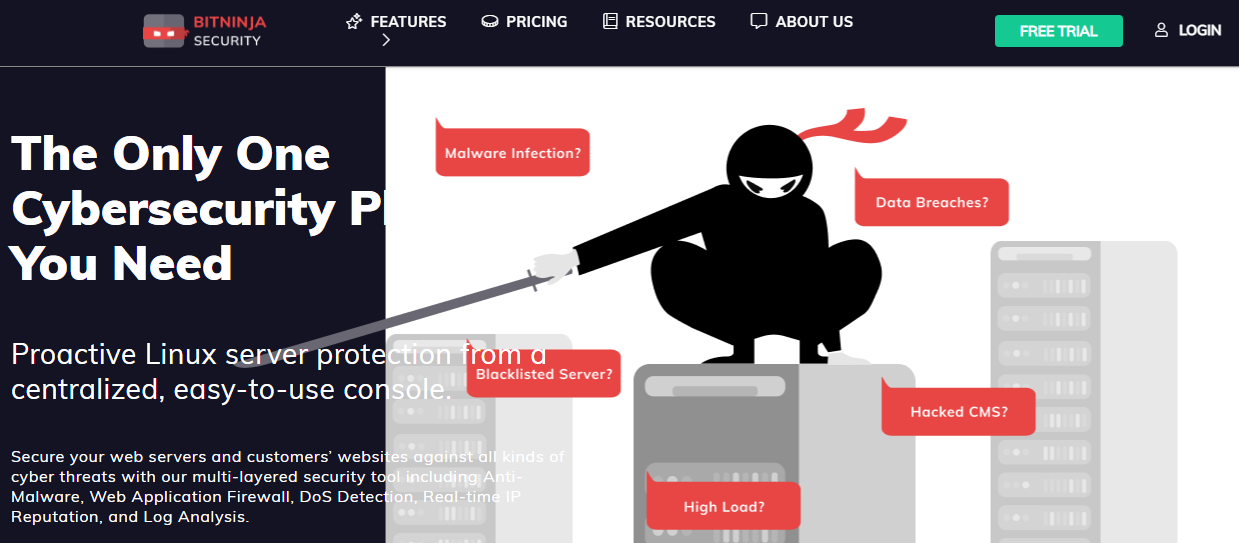
BitNinja is a multi-award-winning cybersecurity company. They have a fantastic malware detection tool that can help protect your servers from the latest threats.
Their device is easy to use and install, and they block more than 10 million cyber-attacks every day. Even in case of malware injection, their Malware scanner will detect and quarantine the malicious file and keep your server secure.
Before I proceed with the steps to set up BitNinja, let me tell you about its features.
BitNinja Features
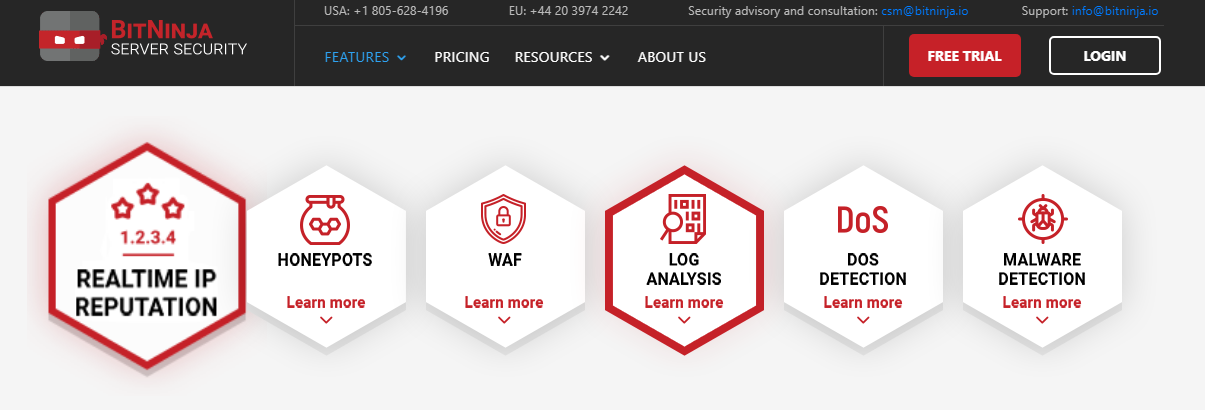
Realtime IP Reputation:
BitNinja contains information on 70,000,000 IP addresses around the world. In real-time, BitNinja checks for IP databases and collects information on safe IPs and malicious IPs. BitNinja blocks a malicious IP on every server it protects.
Honeypots:
Your server is exposed to malicious IPs and hackers looking to steal your site data. BitNinja honeypots protect your server from hackers by trapping their connections and restricting them from accessing your site.
Hackers use backdoors to enter your site’s server. BitNinja honeypots block hackers from entering your server resources.
WAF:
The WAF 2.0 by BitNinja works effectively at the application layer on each hosting server. The Web Application Firewall detects incoming threats from the visitor’s browser and blocks them before entering your hosting server.
Log Analysis:
Once BitNinja is installed on your hosting server, the Log Analysis runs silently in the background. What it does is, without any configuration settings, it automatically identifies attacks like SQL injection, spamming, and more.
Log Analysis gives a signal to the Realtime IP Reputation module and gets greylisted when a malicious IP is detected.
DoS Attacks:
When there are a lot of concurrent connections detected on your server, BitNinja blacklists those IPs for 60 seconds. It then moves these blacklisted IPs to the greylist.
From the greylist, users can delist these IPs if found genuine. The DoS module also works the same by blacklisting the IPs for a longer time.
Malware Detection:
Malware primarily enters your server as backdoors so an attacker can access your server resources. With new improvements in malware, traditional malware detectors cannot detect them.
BitNinja malware detection employs a new method of detecting malware by placing them in quarantine. This way your server is safe from further damage that could have been caused by the malware.
How To Set Up BitNinja?
Let’s get right into the dashboard and see how to Set up a BitNinja Malware Detection tool on your Servers.
First of all, if you’re new, you need to Signup on BitNinja.
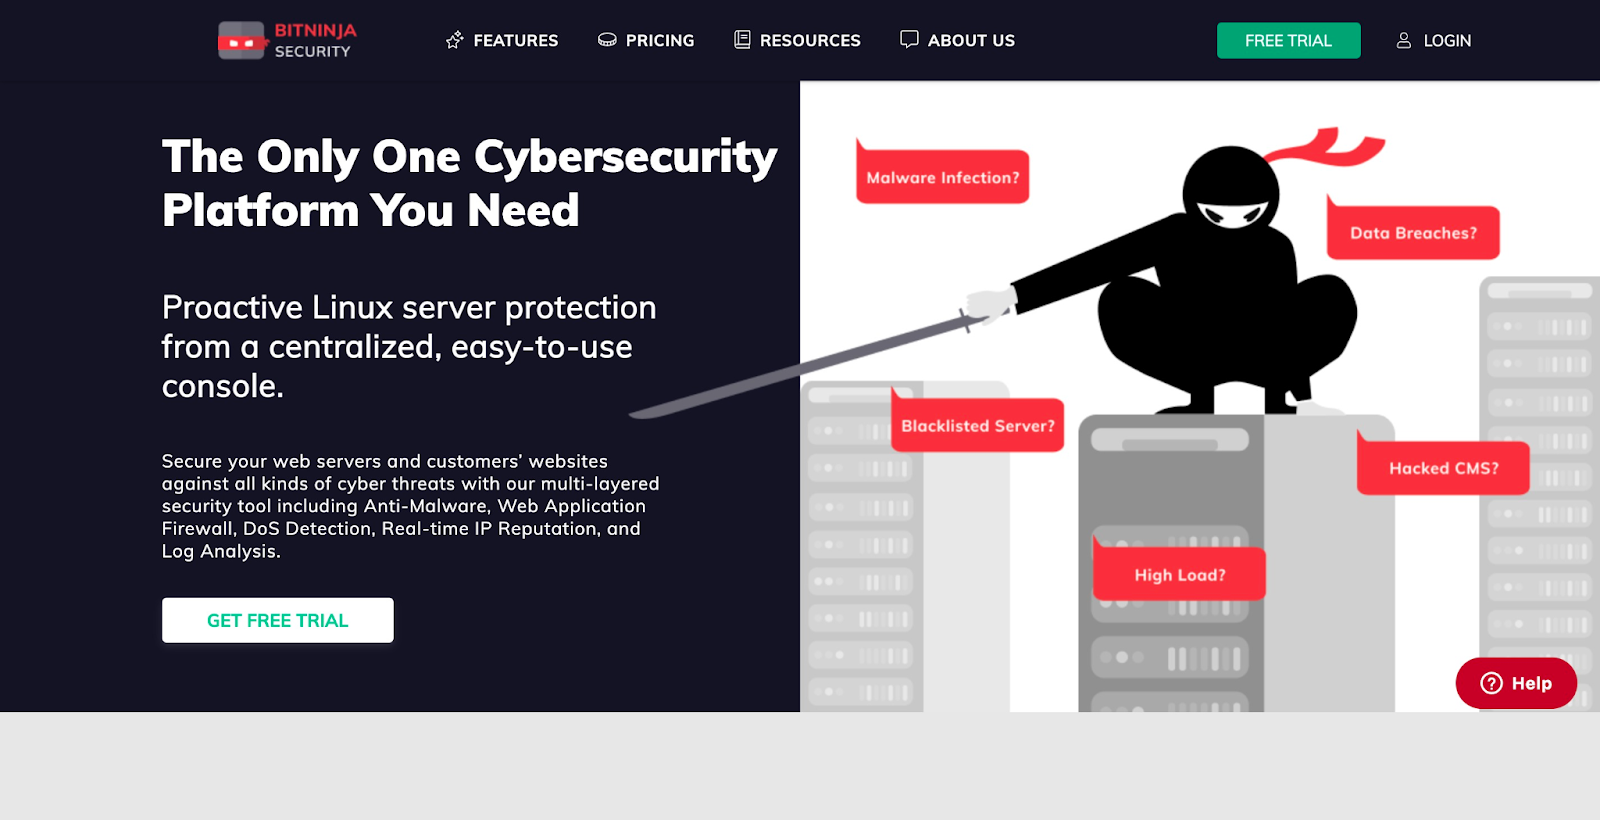
Visit the official BitNinja website and you will see a screen like this.
Click on the Free Trial button to get started.
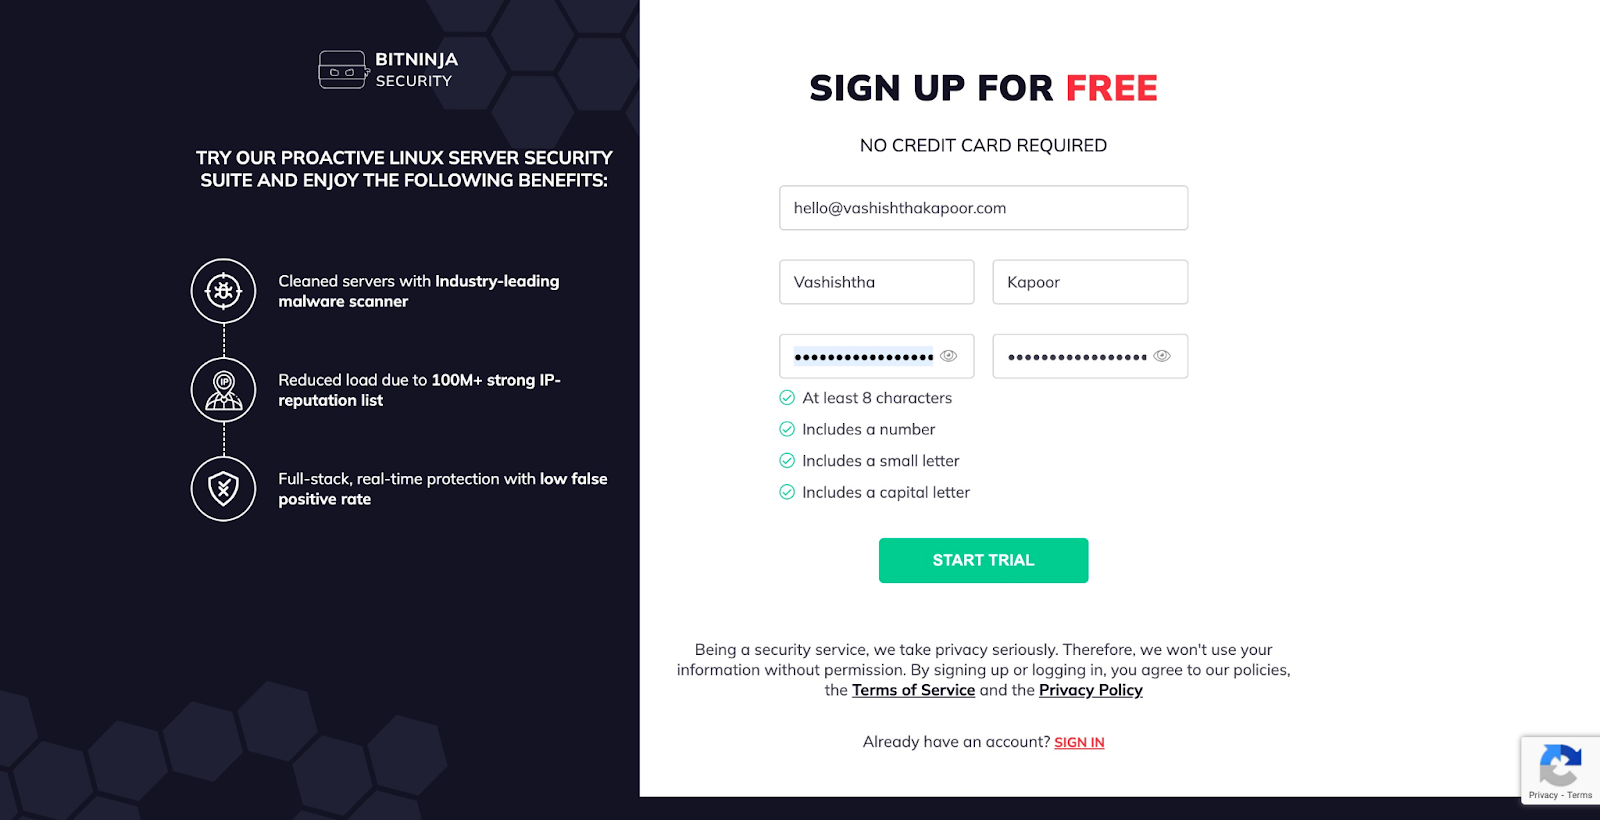
Now, Fill up the basic information and click on Start Trial.
Once you successfully sign up, you may need to verify your email. Once you verify your BitNinja email, you will be able to add your server to BitNinja.
You do not need to put details of the server in the BitNinja dashboard.
Instead, you need to install the BitNinja client on your server.
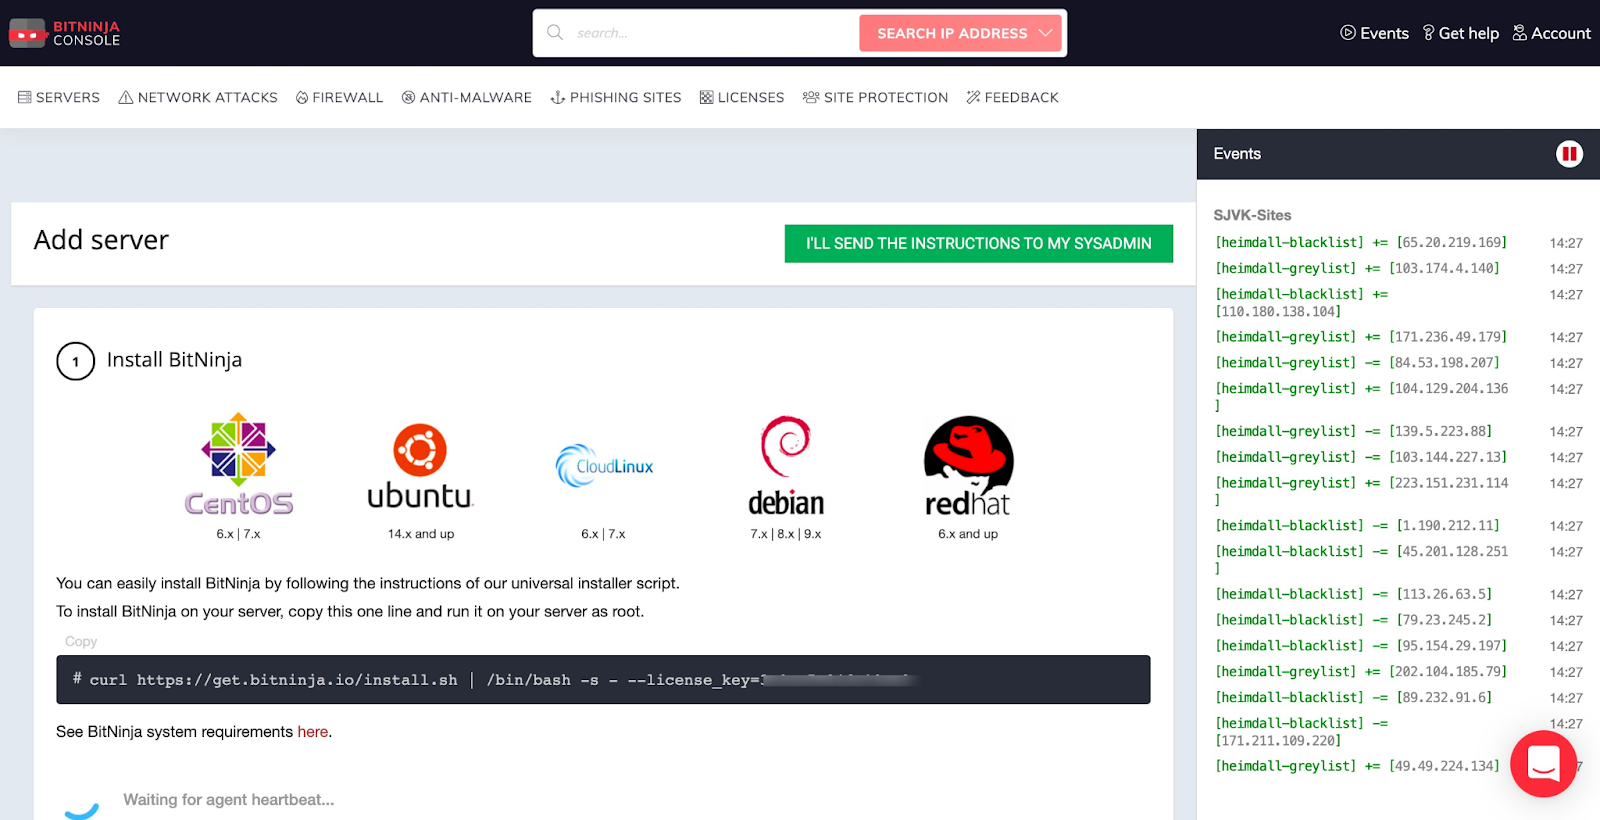
All the instructions are on your screen. Based on the server’s operating system, you need to run the command in the server’s shell.
Simply open the Terminal app on your MacOS device, or log into your Server using Putty on Windows.
Make sure you’re logged in as root.
Simply type or copy/paste this command and press enter.
curl https://get.bitninja.io/install.sh | /bin/bash -s – –license_key=XXXXXXXXXXXXXXXX
Once you run the command and successfully install the BitNinja client on your server, you will be able to see the server in your BitNinja dashboard.
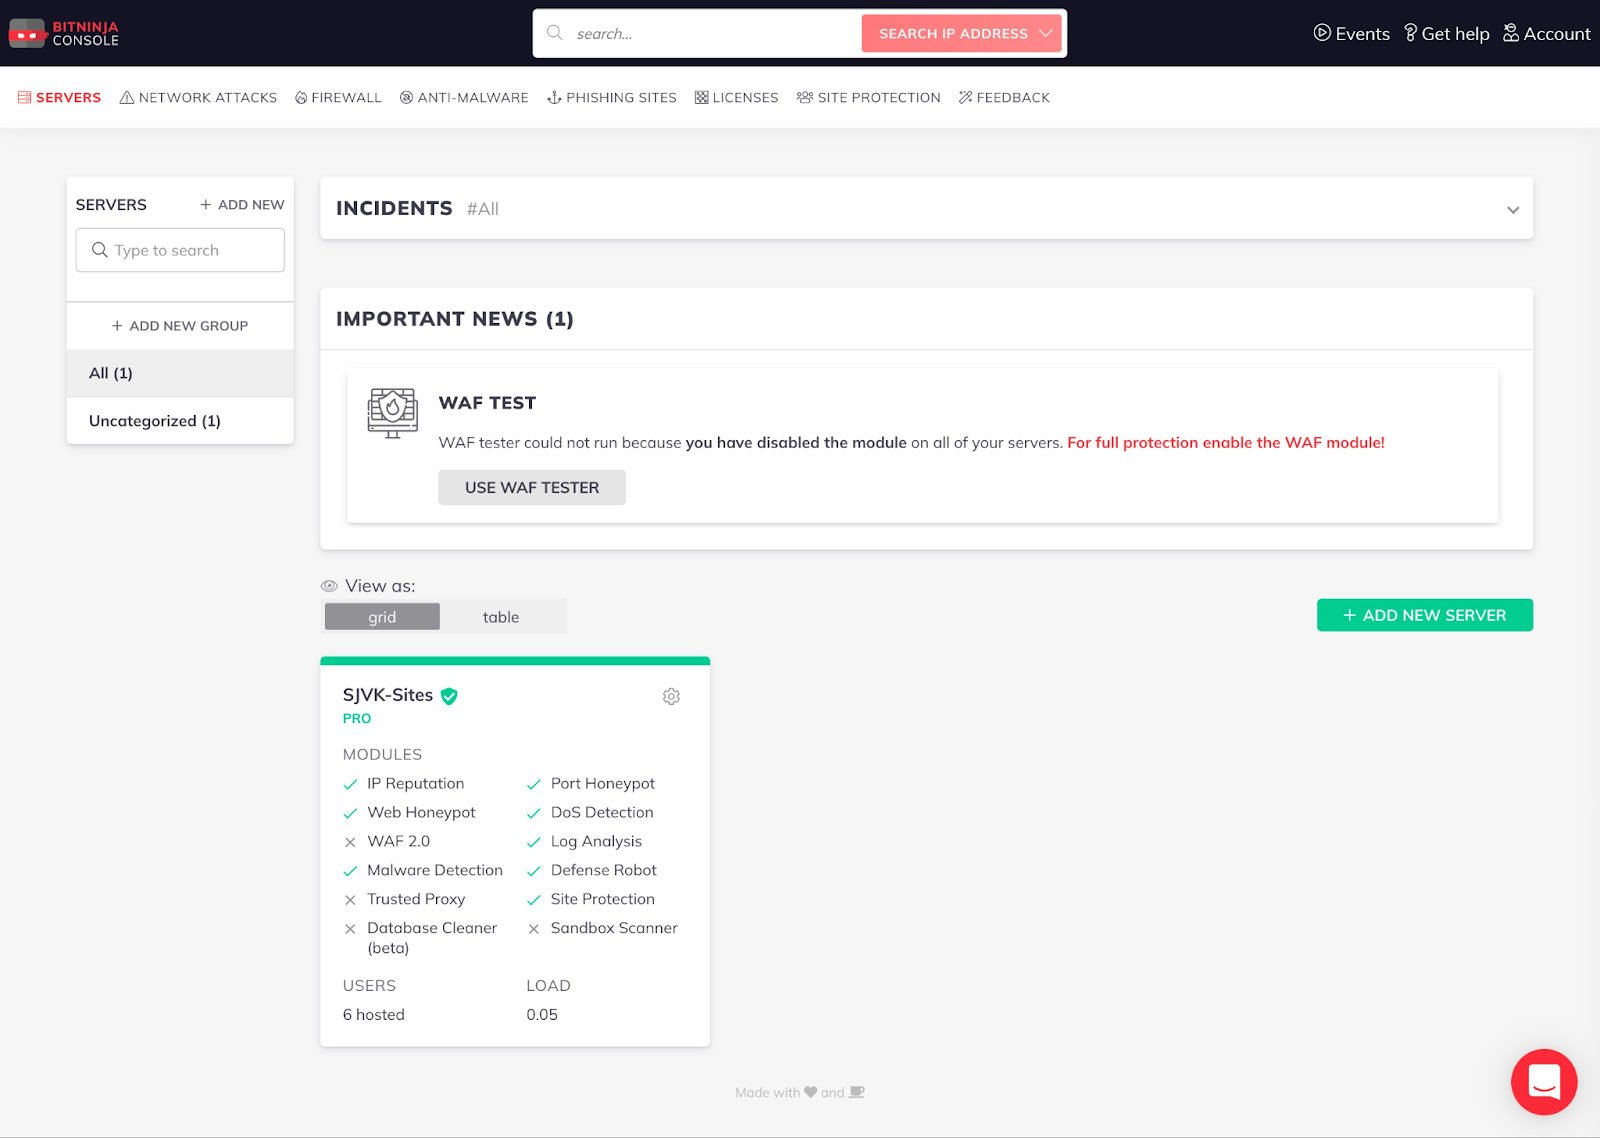
You can now Go to the Anti-Malware Section and find all the options.
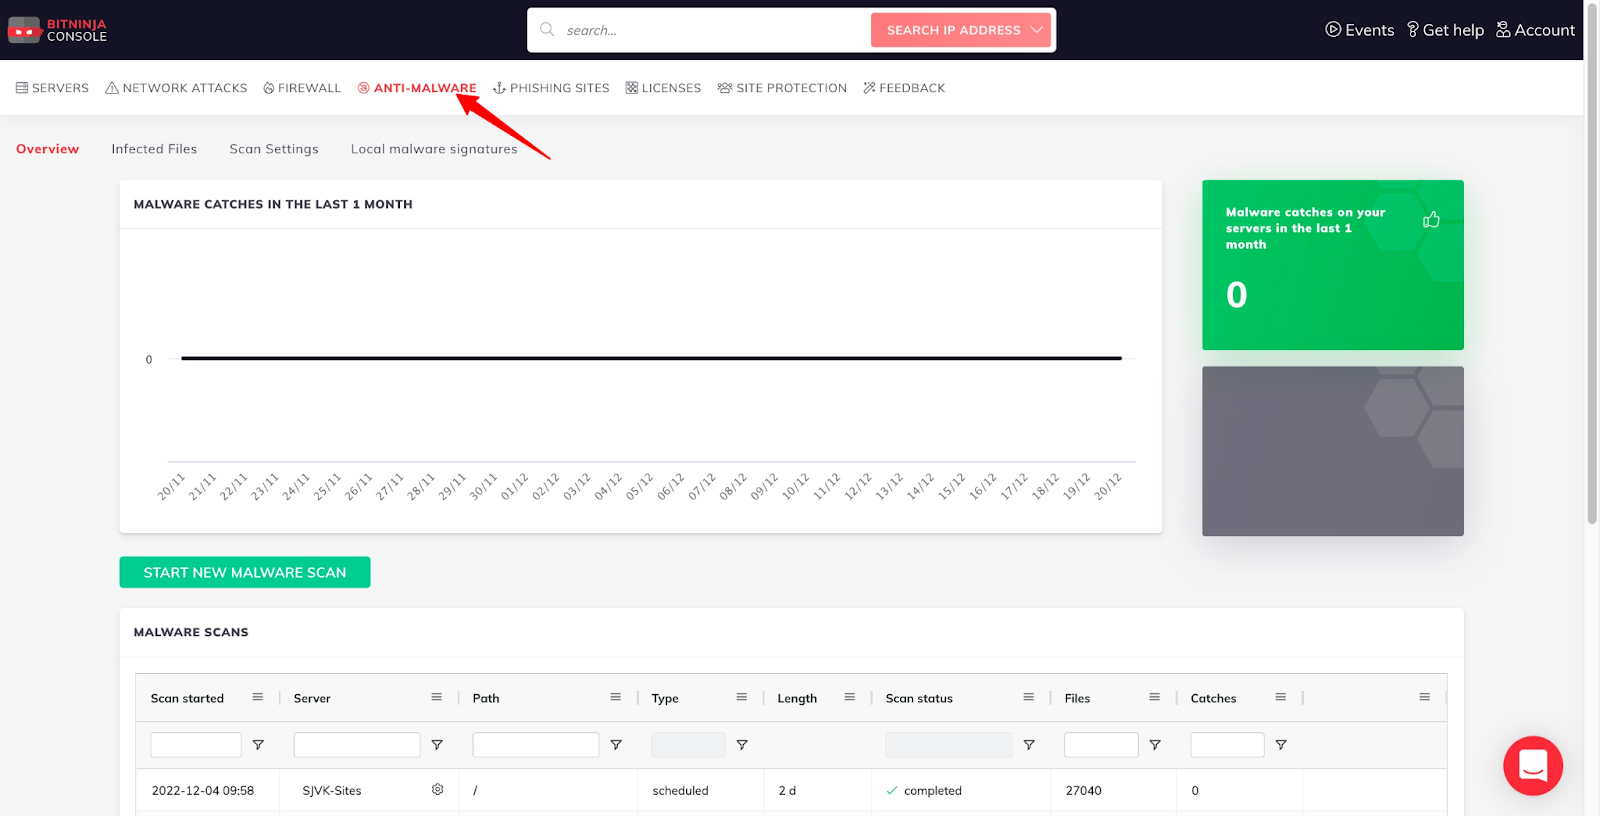
The graph shows the number of catches in the last month.
Then you can Start a new Malware scan on your server.
If you want to scan only a specific folder inside your server, here’s how you can mention the path.
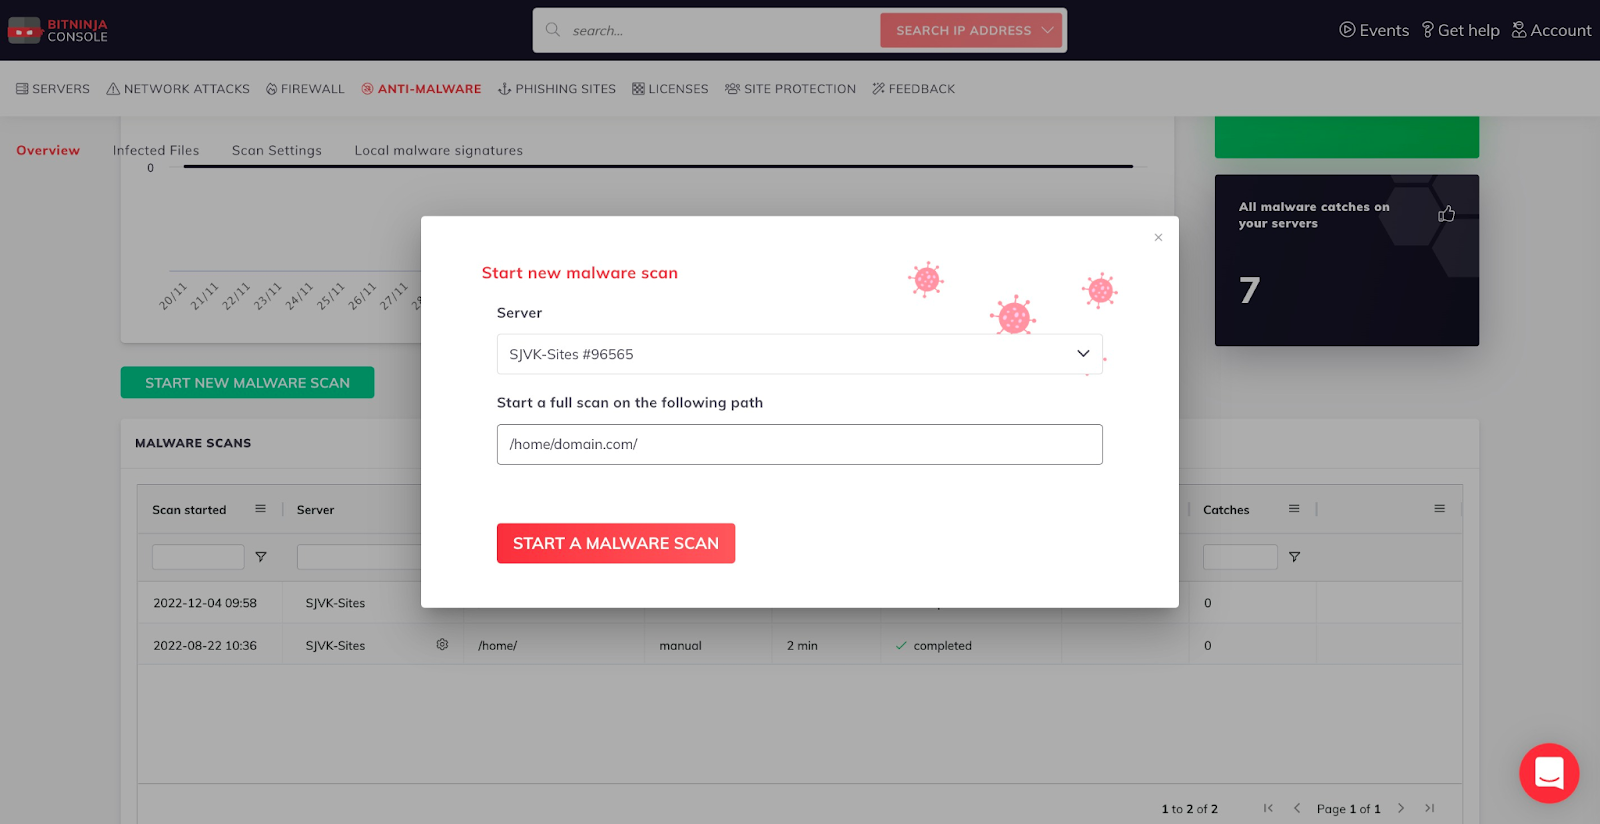
Once you click on the Start a Malware Scan button, the system takes a couple of minutes to scan the whole server, searching for malware.
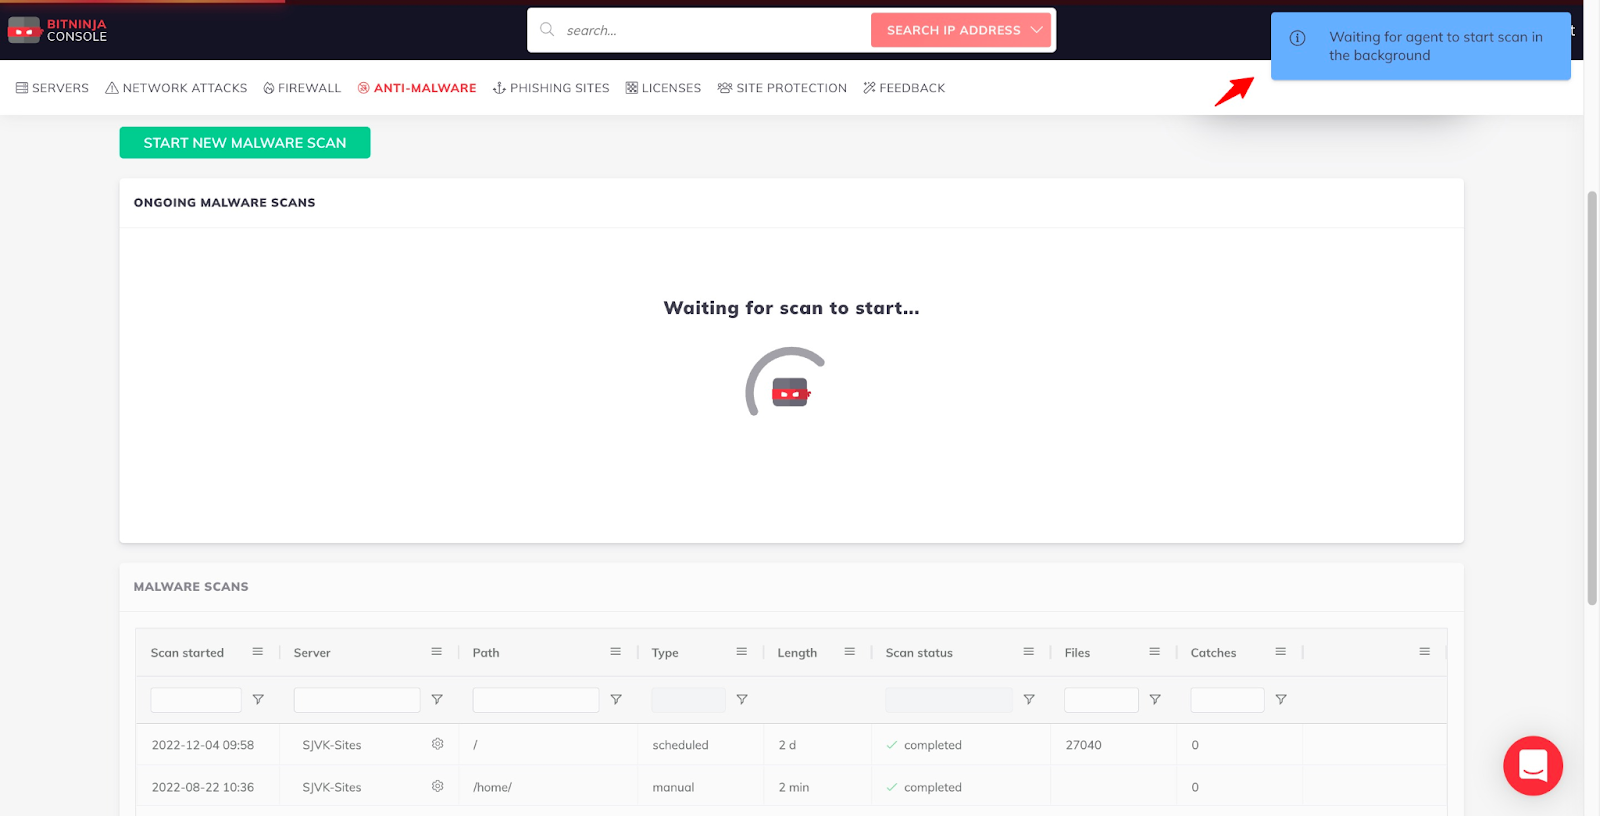
The dashboard keeps you updated about the scan results in real time.

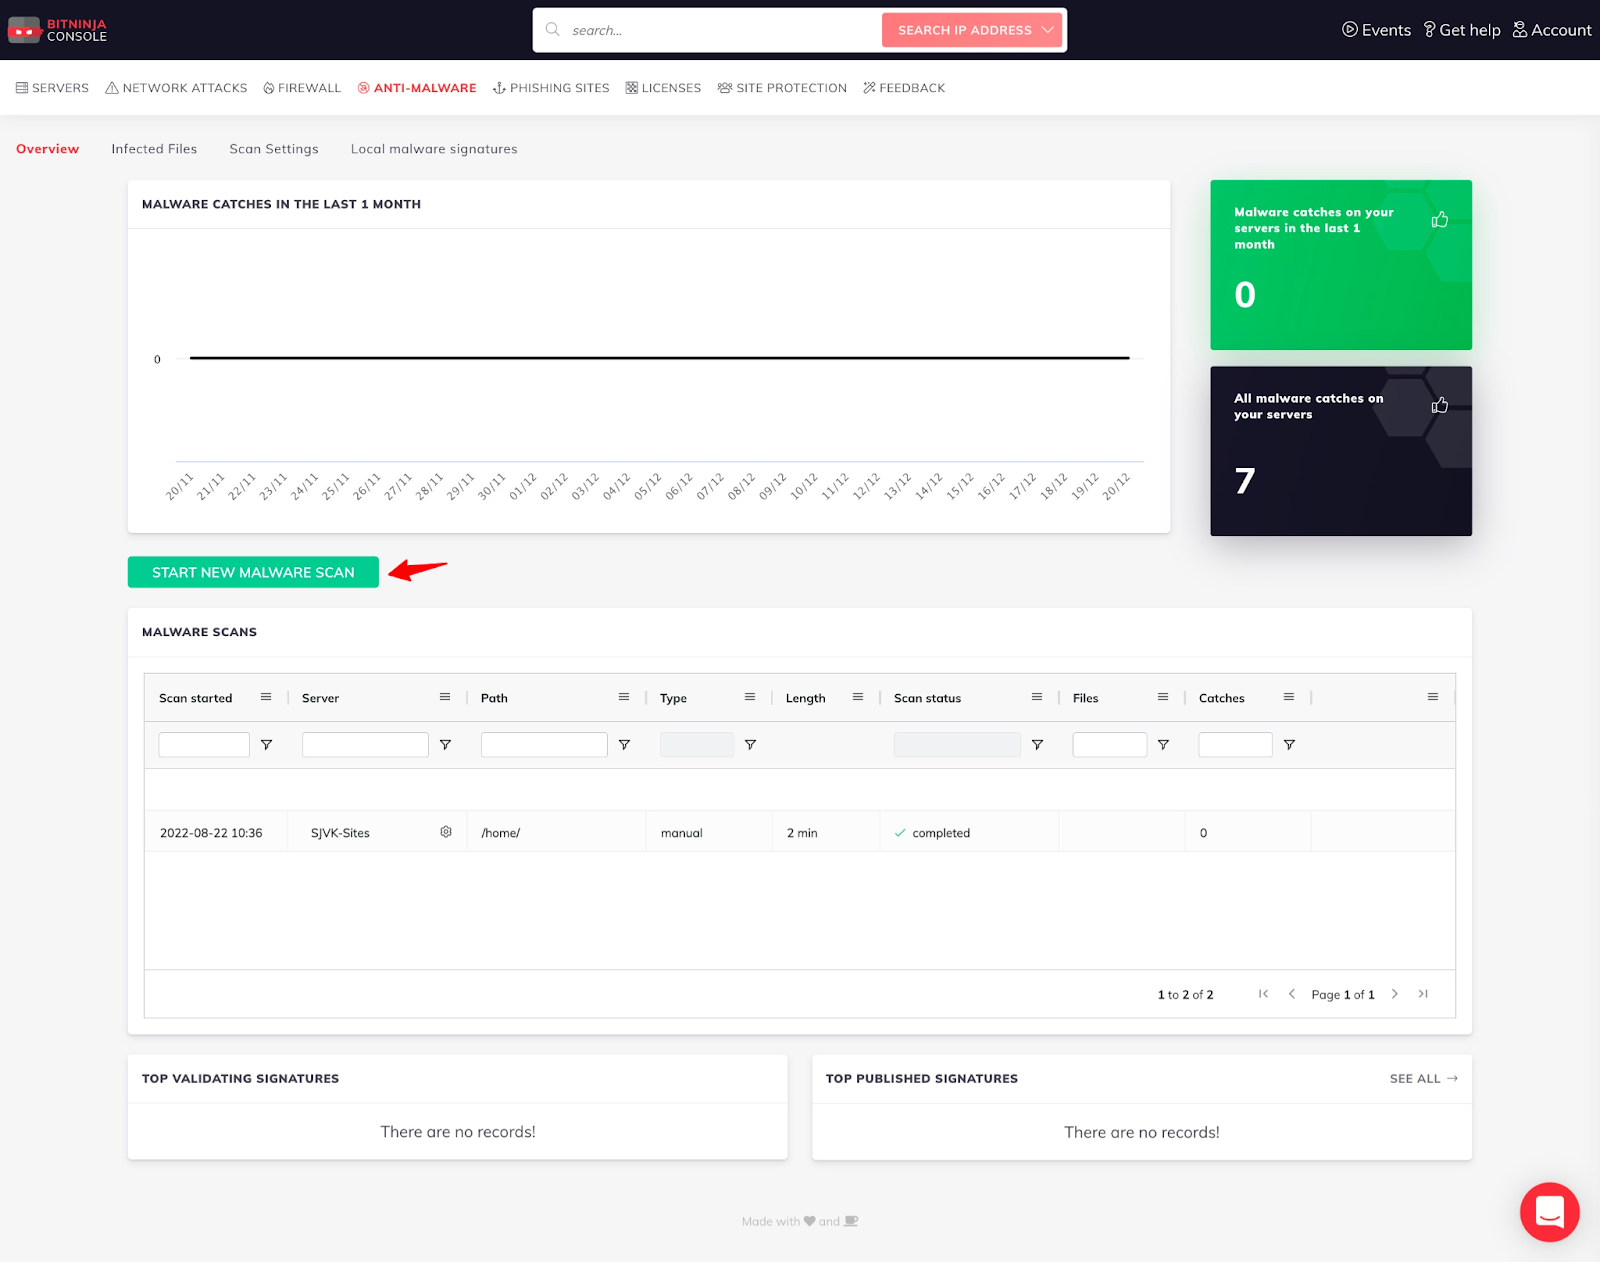
Usually, the deep scan feature is enabled. But for a much regular use, you can turn this off and the quick scan will be much faster.
To do this, you can simply edit the config file and use the enable/disable_deep_scan variant.
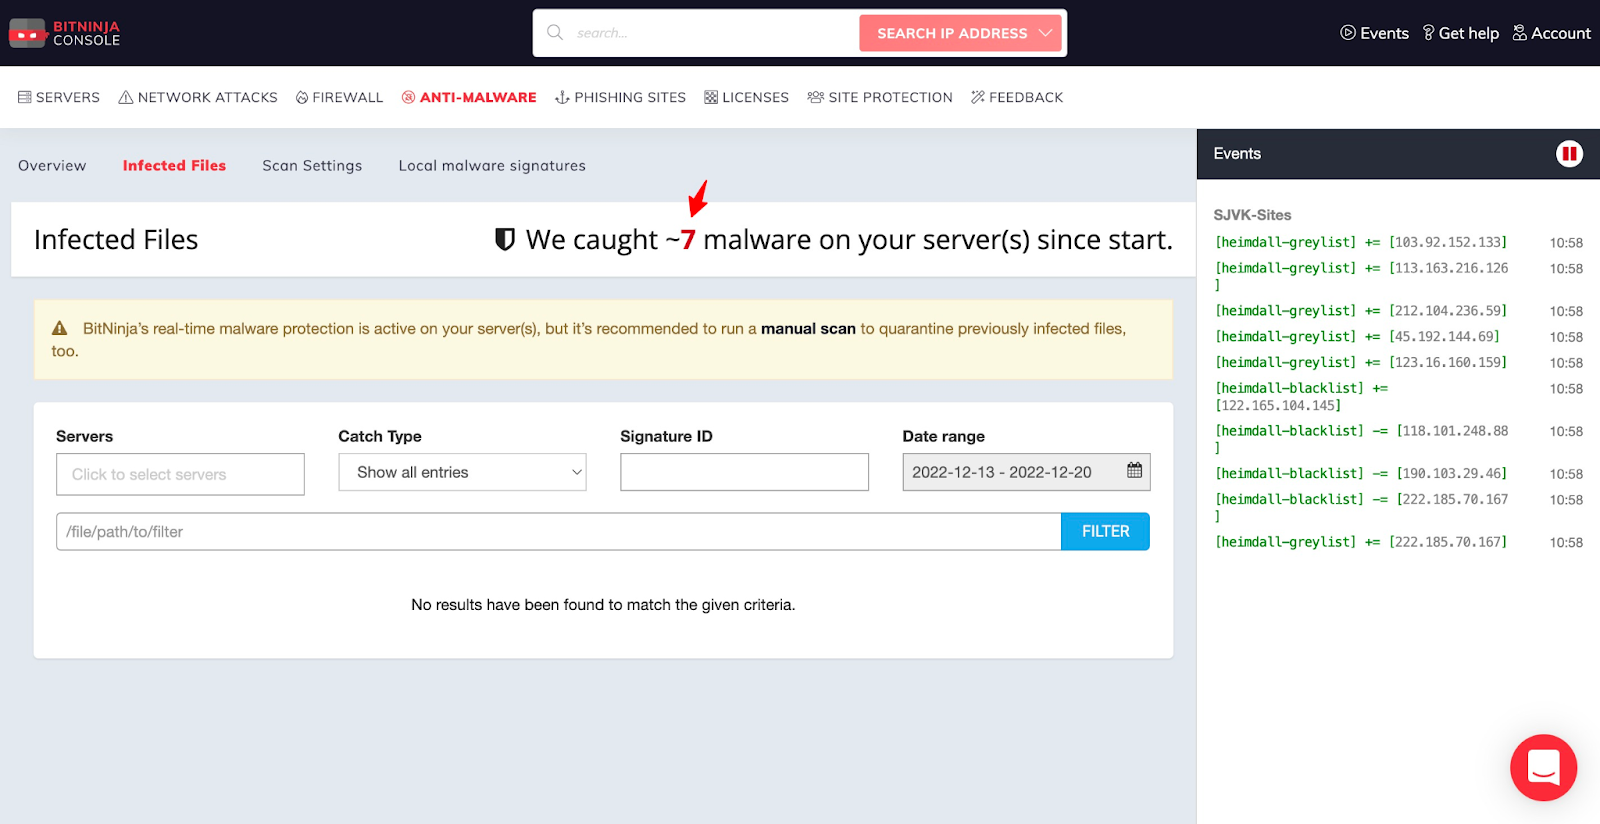
You can also check the history in “Infected Files”
This is the number of malware it detected since the start.
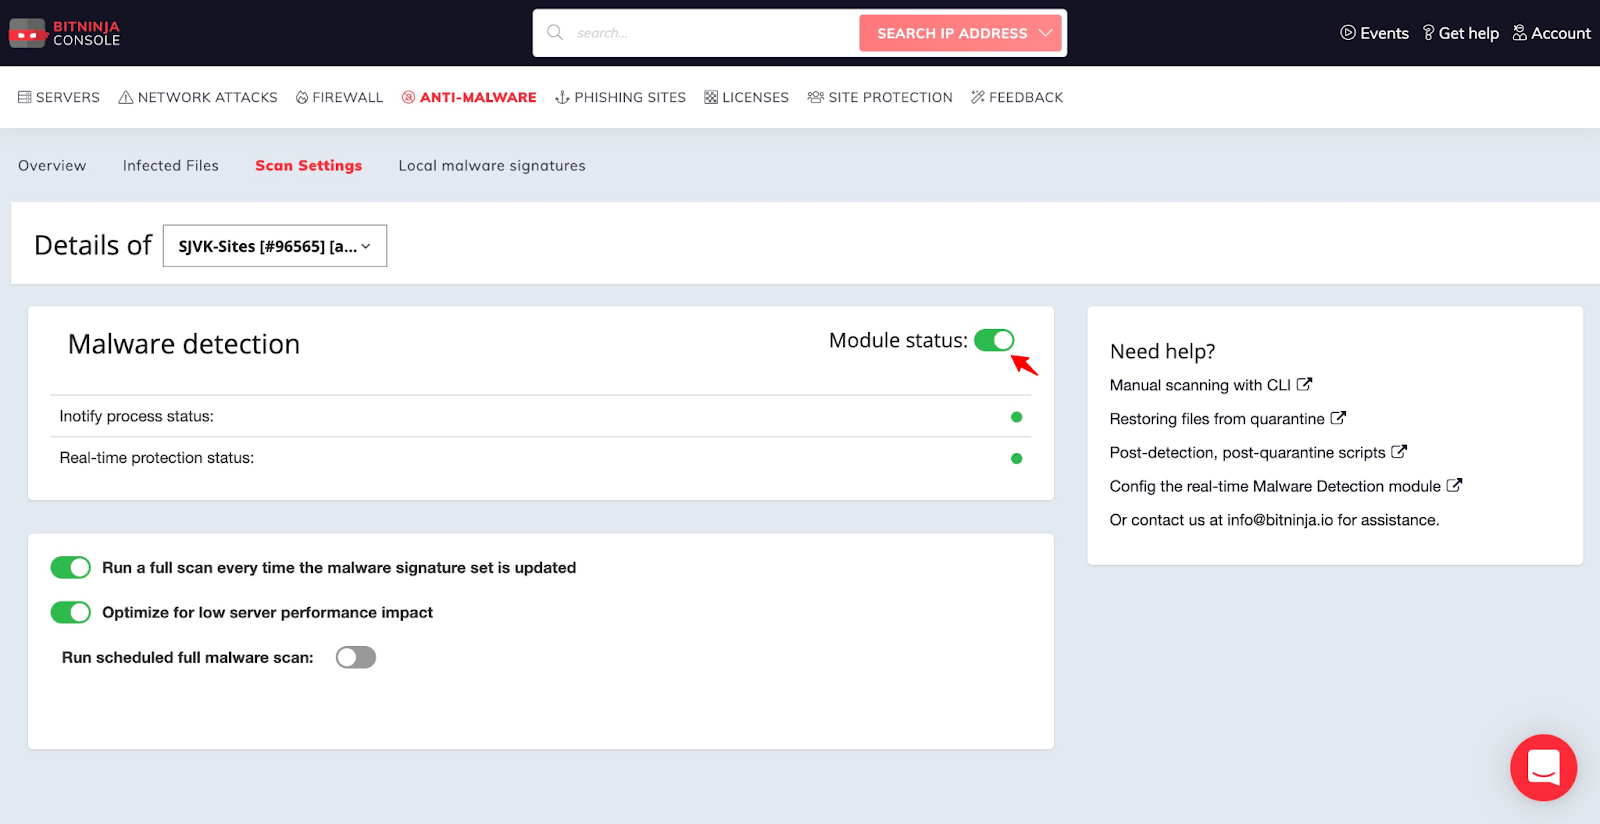
You can also enable/disable this module from “Scan Settings”
BitNinja Alternatives and Competitors
BitNinja vs Imunify360
Let us also compare it with other malware scanning tools –
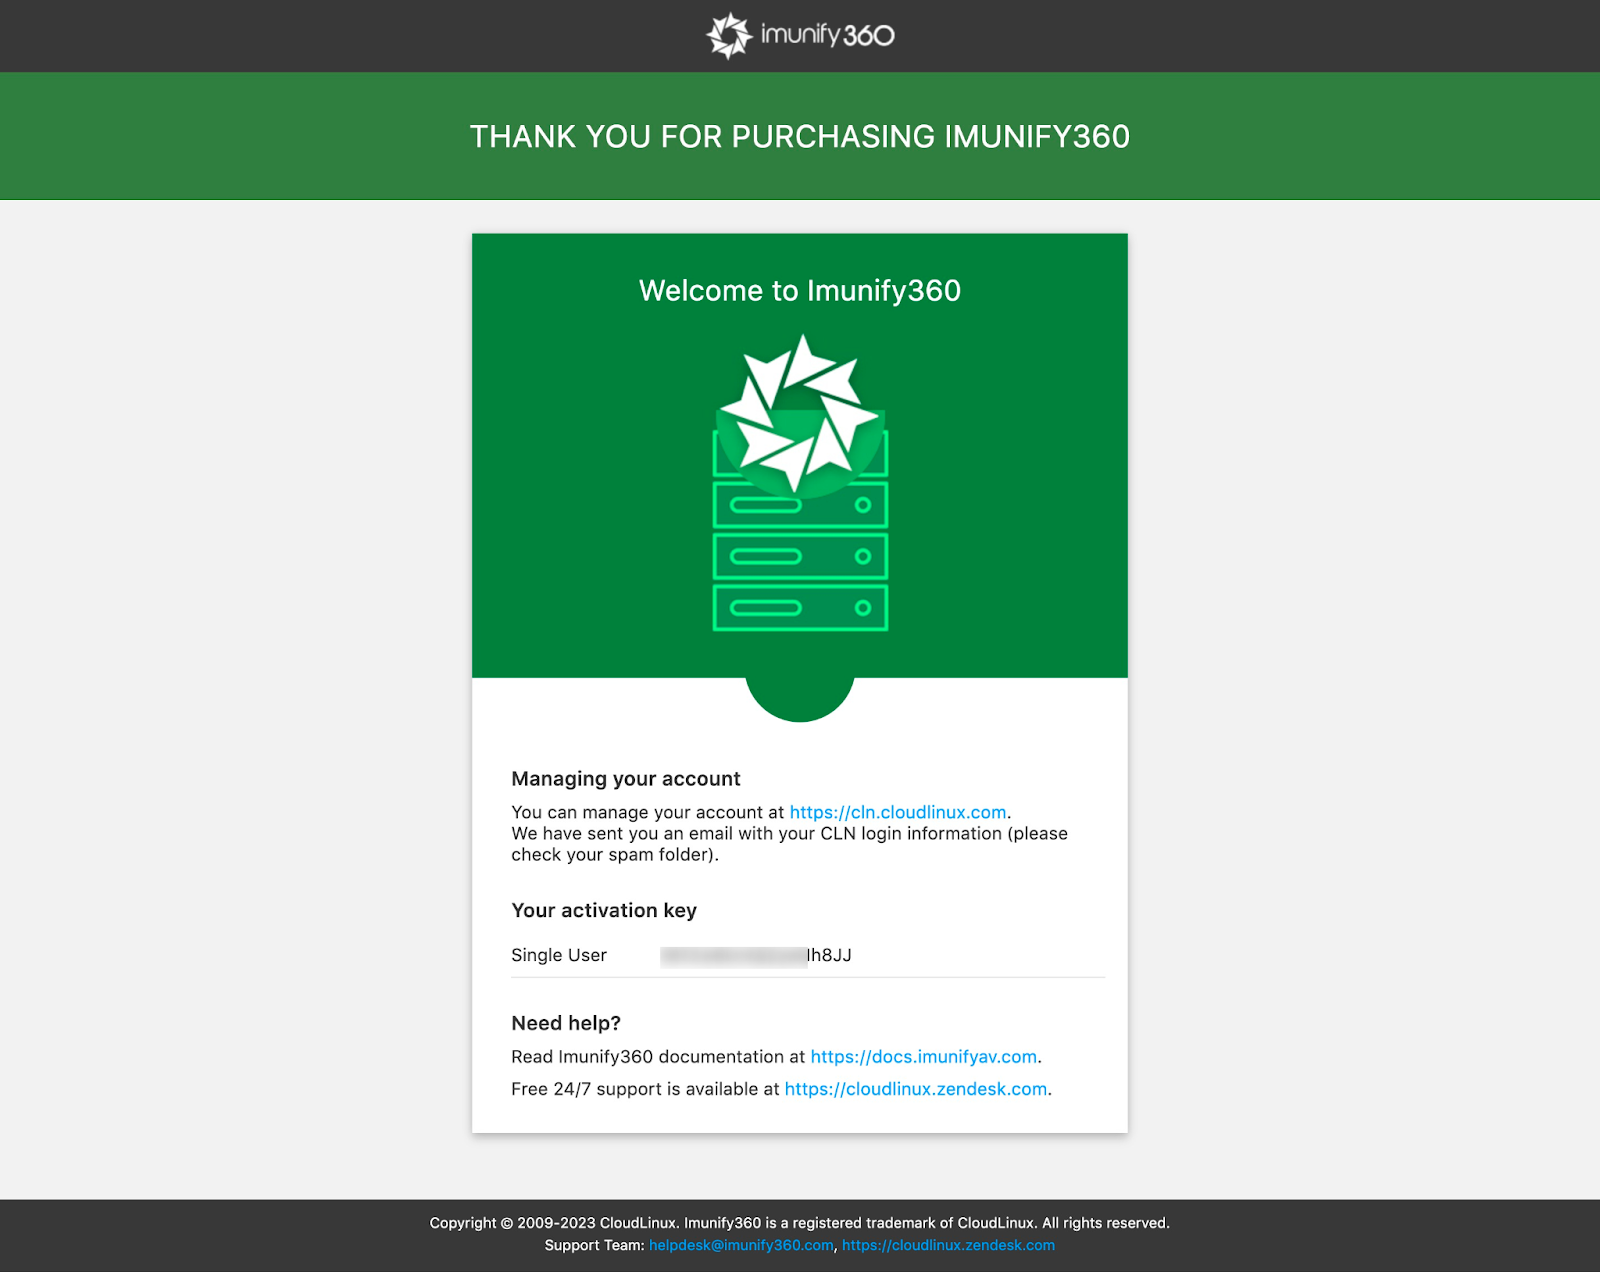
I bought a single-user license of imunify360 to use on my server. Here are my observations.
Comparison of BitNinja vs Imunify360
| Feature | Imunify360 | BitNinja |
| Bulk Pricing | ✅Yes (10$/server for up to 30 users) when 5 or more licenses are purchased | 🔴No |
| Installation on Standalone | Install ModSecurity The Apache module mod_remoteip | ✅Just install BitNinja client✅BitNinja is Control panel independent |
| User Interface | Not easy to use | ✅Very easy to understand and use |
| Who should install | Preferably a SysAdmin or well-experienced person | ✅Even a person with basic knowledge of VPS and SSH can install. |
| Installation with CyberPanel | Need to CyberPanel to CloudLinux OS and Install CageFS | ✅No need for such modifications |
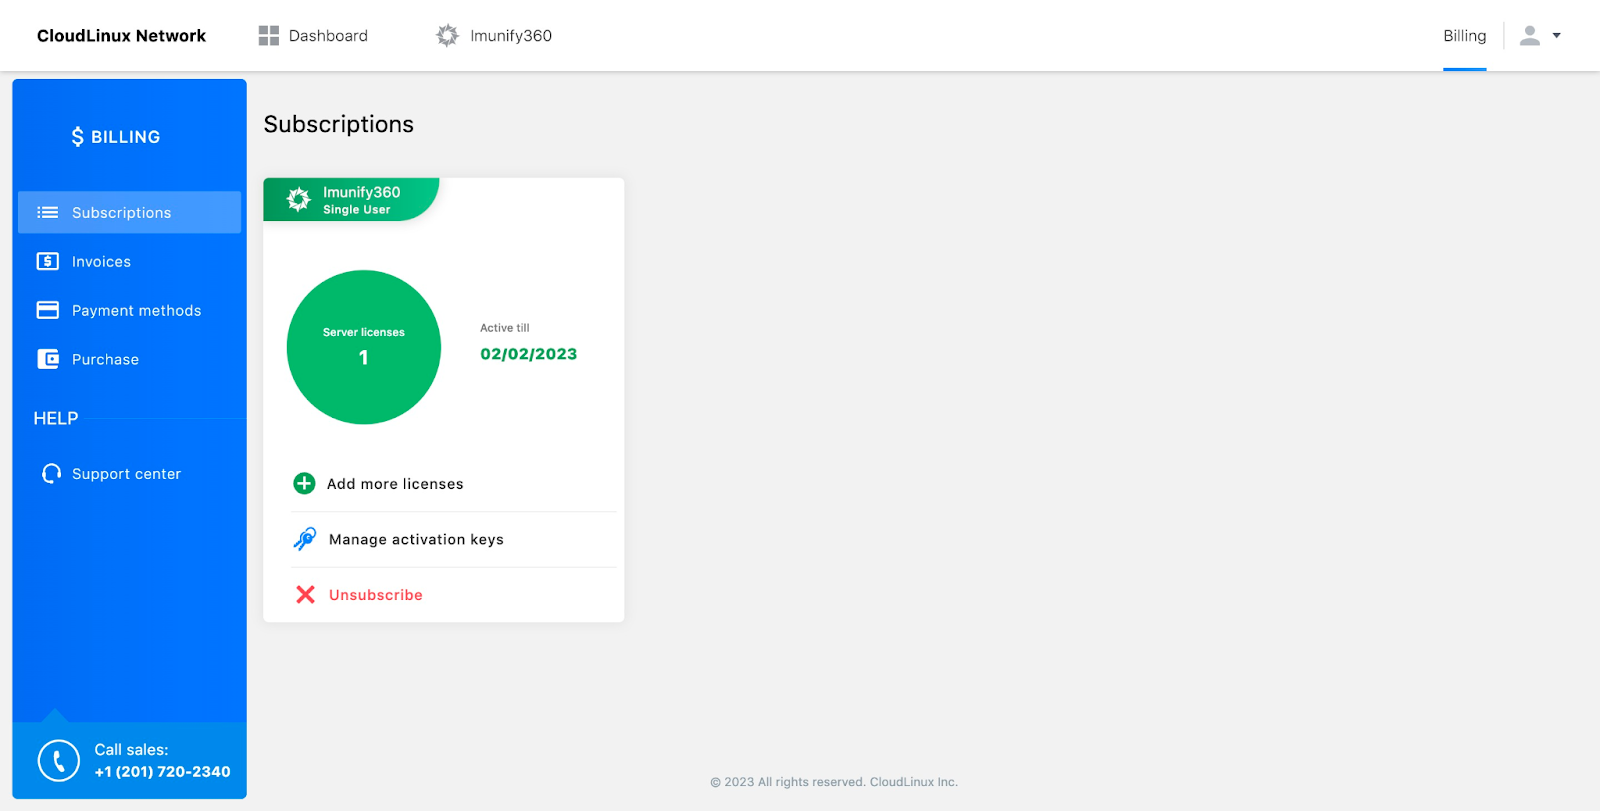
| Dashboard | 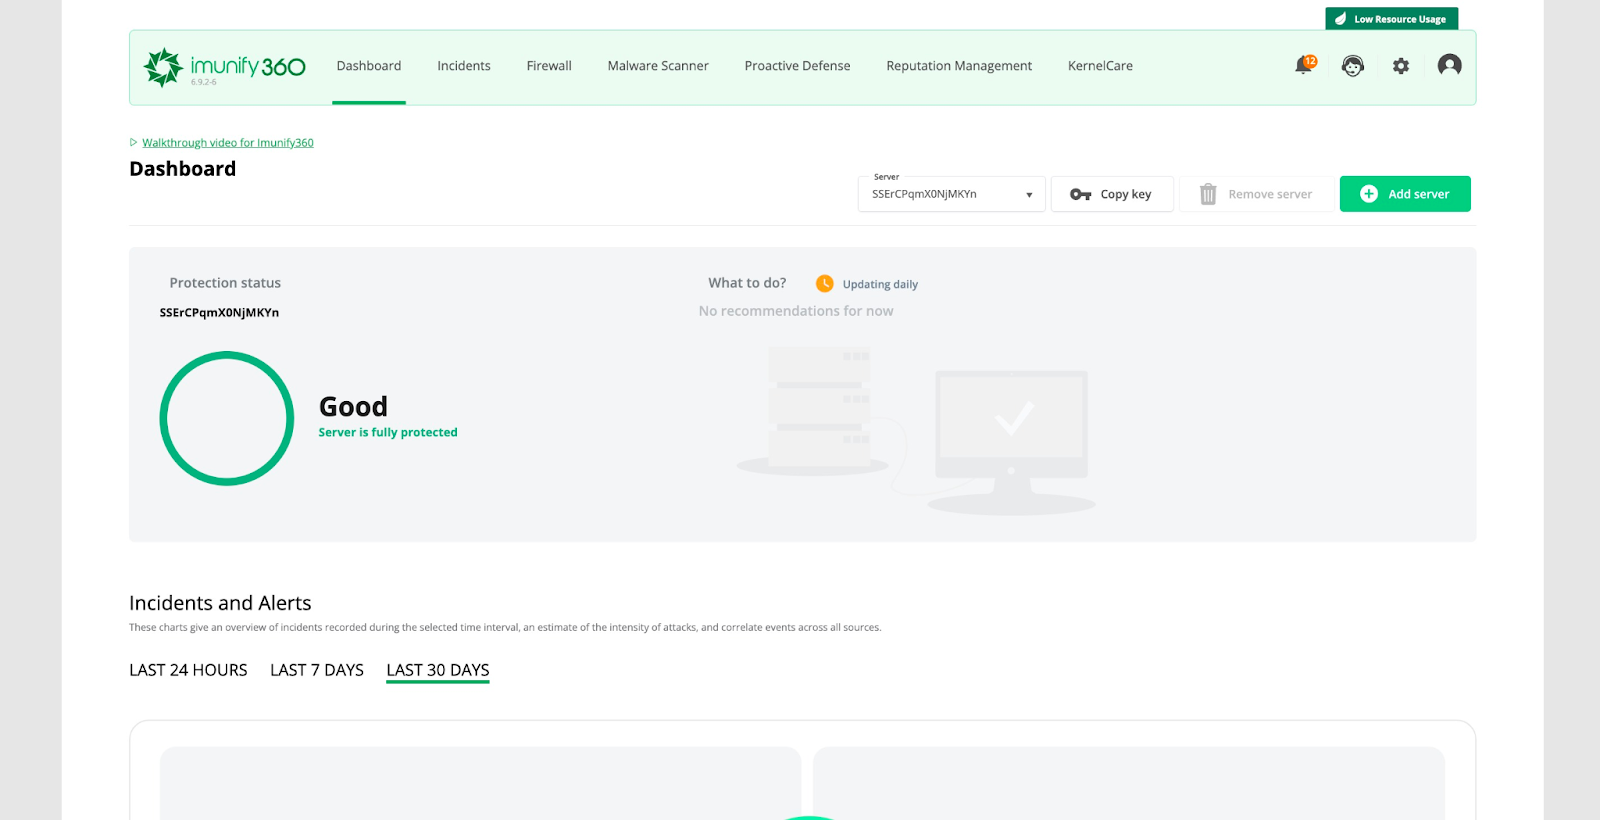 | 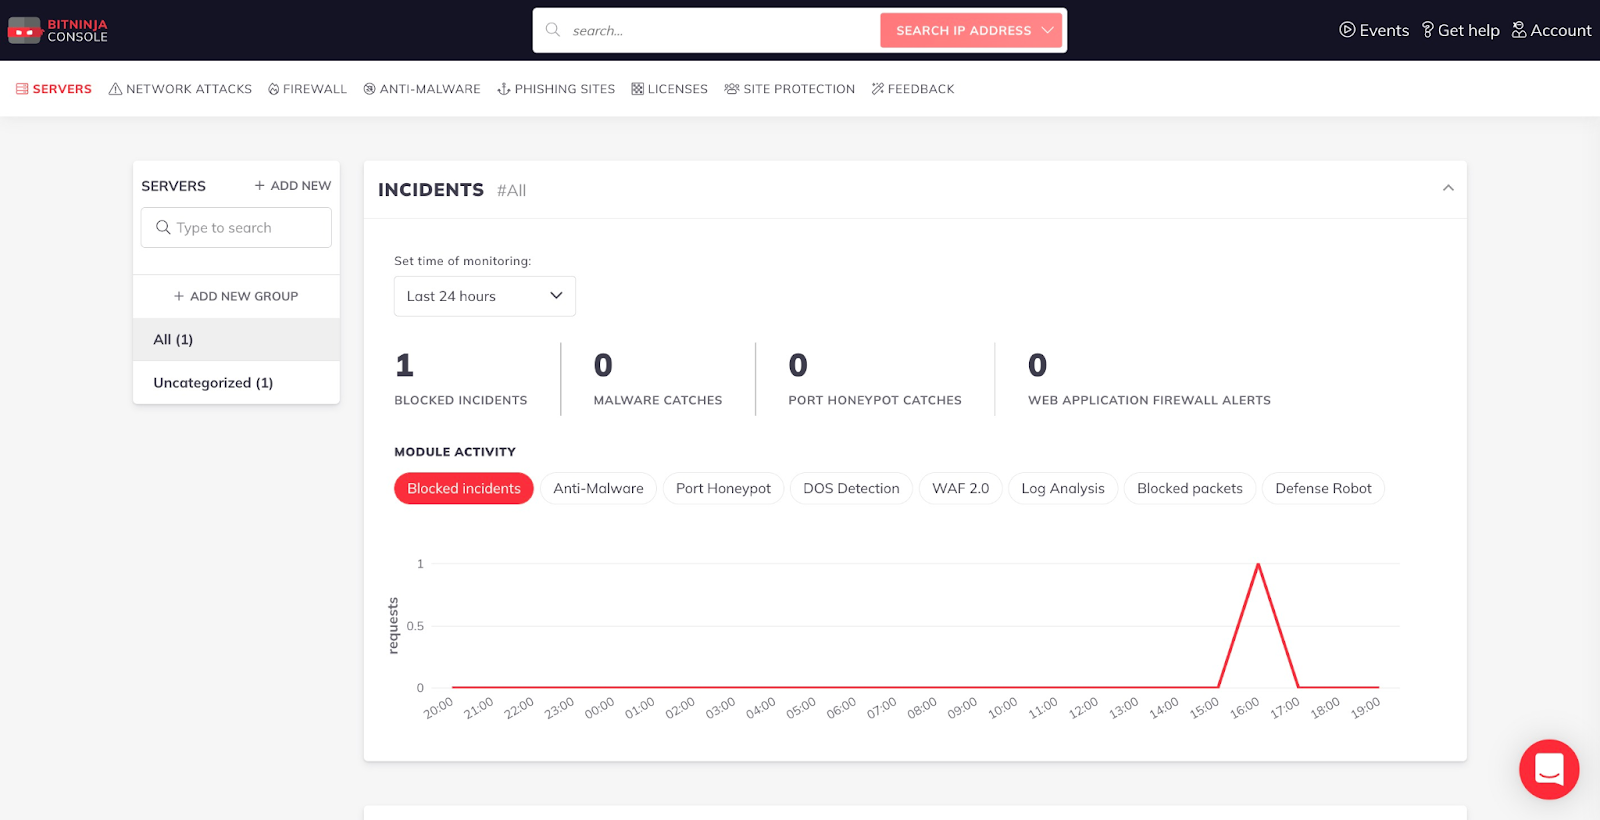 |
| Malware Scan | Login to your server’s Imunify360 panel. CloudLinux dashboard only manages your licenses.It only scans and then cleans the malware. So, it takes a longer time to clean the server after the scan. | ✅From the BitNinja Dashboard itself and track the progress as well. ✅BitNinja quarantines the malware files alongside the scan process as soon as it finds one. So, the process is much faster. |
| Multiple Servers? | You can buy multiple licenses and install on different servers. But you will need to login each of their Imunify360 panels to run malware scans. | ✅You can add multiple licenses and servers in BitNinja Dashboard. Also, you can run malware scans remotely for all servers in just 1 BitNinja account. |
Difference between Imunify360 vs BitNinja Based On My Experience
| Sr No. | Imunify360 | BitNinja |
|---|---|---|
| 1. | Installing and setting up the Imunify360 on a standalone server is quite tricky. You need to follow long documentation and install ModSecurity etc. to successfully install it. Most of the time, it is still a headache even after installing the perquisites. | On the other hand, Installing the BitNinja client is super-easy. No matter which Control panel or CMS you use, it only requires one command to install. |
| 2. | When installing Imunify360 with Cyberpanel, you also need to Convert CyberPanel to CloudLinux OS and Install CageFS. | The BitNinja panel is the easiest to use, and you get all the information from 1 dashboard. |
| 3. | When talking about installing Imunify360 with Cyberpanel, you also need to Convert CyberPanel to CloudLinux OS and Install CageFS. | Even a new user (who knows the basics about VPS and SSH) can install BitNinja on his server |
| 4 | Installing and setting up the Imunify360 on a standalone server is quite tricky. You need to follow long documentation and install ModSecurity etc. to successfully install it. Most of the time, it is still a headache even after installing the prerequisites. | To install Imunify360 on a standalone server, you must have special SysAdmin skills. |
BitNinja vs Wordfence
If you take Wordfence, it is a good cybersecurity and malware-scanning tool. The premium plan starts from 119 US dollars annually and is only available for WordPress websites. BitNinja can scan malware on any site, irrespective of the CMS.
Also, Wordfence is less relevant for securing the whole server. BitNinja can scan the whole server and keep it safe from malicious files.
Bitninja vs Sucuri
Sucuri plans are based on the number of sites you want to scan, while BitNinja plans are based on the users on the server. No matter how many sites you have on your server, Bitninja protects them all.
BitNinja has all (even more) features than Sucuri regarding malware scanning.
Also, in terms of pricing, BitNinja’s basic plan starts from just $120 annually. While Sucuri’s cybersecurity plan starts from $199 a year for just 1 site.
I give BitNinja 5 out of 5 stars for catching and cleaning malware from your server. I personally use it on my servers.
So, guys, give it a shot and keep your server secured. You know what is best for you.
BitNinja Pricing
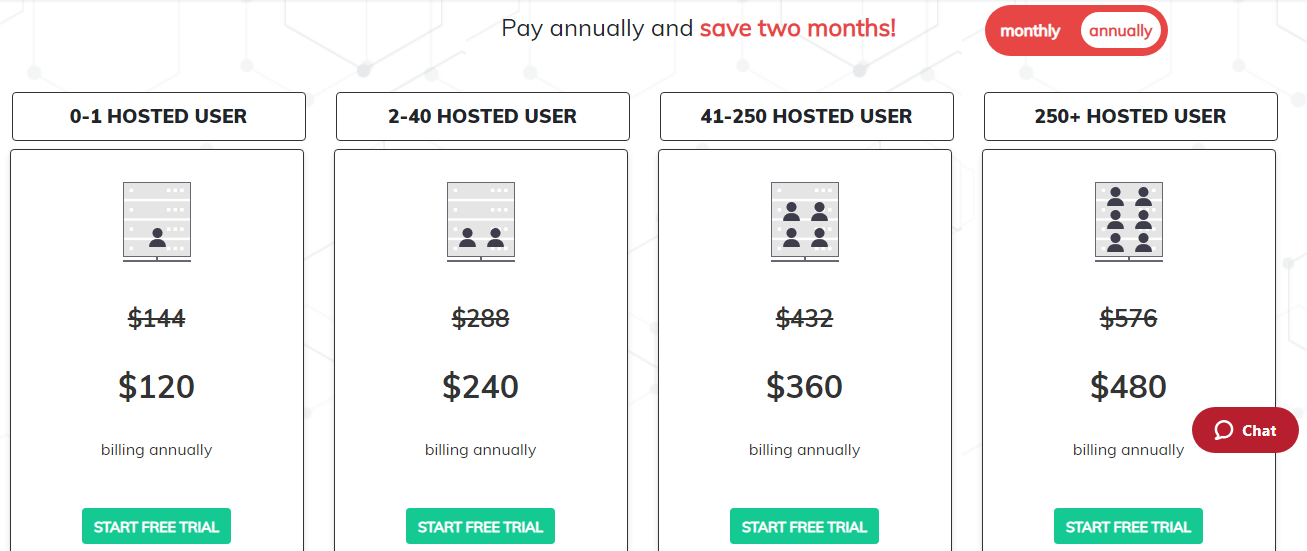
BitNinja offers a free trial for which you only need to sign up with your name and email address. You will receive a verification email with a link. Clicking on this link will verify your email.
You can now log into your account and start configuring your server with the free trial activated instantly.
If you are a hosting provider, or a marketing agency providing security solutions, you can resell BitNinja. There’s a reseller panel, API, and a marketing kit to resell BitNinja to your clients.
My BitNinja malware detector review ends with the BitNinja pricing section. Thank you for reading my BitNinja review till the end.
Also Check:
BitNinja Review Conclusion: Is BitNinja Malware Detector Worth It?
BitNinja can be a lifesaver for your site and your servers in times of panic. Trust me, I say this from my experience of using it for my site’s server.:)
I have also used it on a hacked server to clear and remove the malware code. It worked like a charm. I hope my BitNinja review will help you add server security and protect your site from malware and other attacks.