
OpenLiteSpeed Server
OpenLiteSpeed server is one of the best web server program that you can install on your VPS server and achieve the unbeatable performance for your website. I have been using it for multiple clients (and for myself too) and it works intuitively fast. In this tutorial, I have deployed a cloud server on UpCloud. Next, I will install OpenLiteSpeed server on the machine and make it ready to service html/php pages to the visitors.
Perquisites
Initials steps to perform before you jump on installing OpenLitespeed
- Deploy a cloud server with Ubuntu 18.04 LTS as OS
- Set up a new sudo user with root privileges (recommended)
- Set up the UFW firewall and open ports (80, 443, 7080, 8088)
Summary
The OpenLiteSpeed installation is covered in below heads to make this easier for you to navigate through the process.
- Installing OpenLitespeed web server
- Setting up admin password
- Connecting to your server console
- Enabling port 80 in place of 8088
Installing OpenLiteSpeed Server
wget -qO - https://rpms.litespeedtech.com/debian/lst_repo.gpg | sudo apt-key add -
Above is a one-time operation that adds and quickly verifies that the software we’re going to download has not been tampered by anybody; cryptographically.
As you usually do for most packages, add the repository on your system.
sudo add-apt-repository 'deb http://rpms.litespeedtech.com/debian/ bionic main'
Once the repository is added to the system, you can go ahead and install OpenLiteSpeed with the command below. Here, you can change lsphp74 with the version of php you want to install on your server. I have used lsphp74, however you can replace it with lsphp73 or lsphp72 as well.
sudo apt-get install openlitespeed lsphp74
You need now to create a soft link to the PHP processor you just installed on the server with the OpenLiteSpeed package. This command will decide which PHP version will be used by your OpenLiteSpeed server. (if you installed lsphp73, make sure you replace lsphp74 with that.)
sudo ln -sf /usr/local/lsws/lsphp74/bin/lsphp /usr/local/lsws/fcgi-bin/lsphp5
Setting up Admin Password
As a mandatory step, after a successful install of OpenLiteSpeed and its PHP processor, you need to create an admin user and define a password. This will be used to login to your server and configure it further in the next steps.
sudo /usr/local/lsws/admin/misc/admpass.sh
Once you run the command, it will ask you for a username and password twice.
Connecting to your Server
Pre-check if everything was installed successfully
sudo /usr/local/lsws/bin/lswsctrl status
Output should be something like this.
litespeed is running with PID 990.
In case you don’t see above output.
sudo /usr/local/lsws/bin/lswsctrl start
Output
[OK] litespeed: pid=5137.
Additional firewall rules if you have UFW enabled
sudo ufw allow 8088

sudo ufw allow 7080
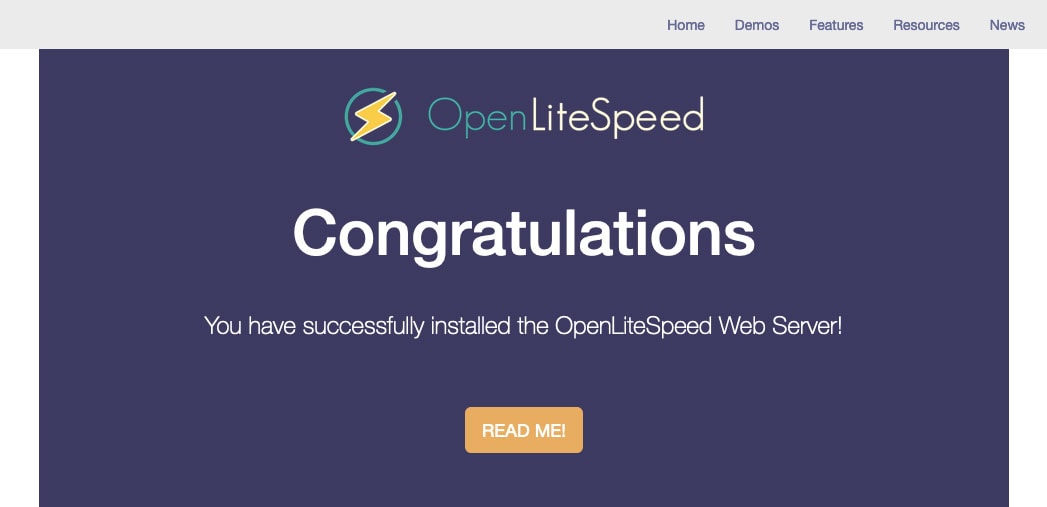
At this stage, you should be able to visit your server’s default page and backend as following.
The frontend of the website
http://server_domain_or_IP:8088
Backend (admin console)
https://server_domain_or_IP:7080
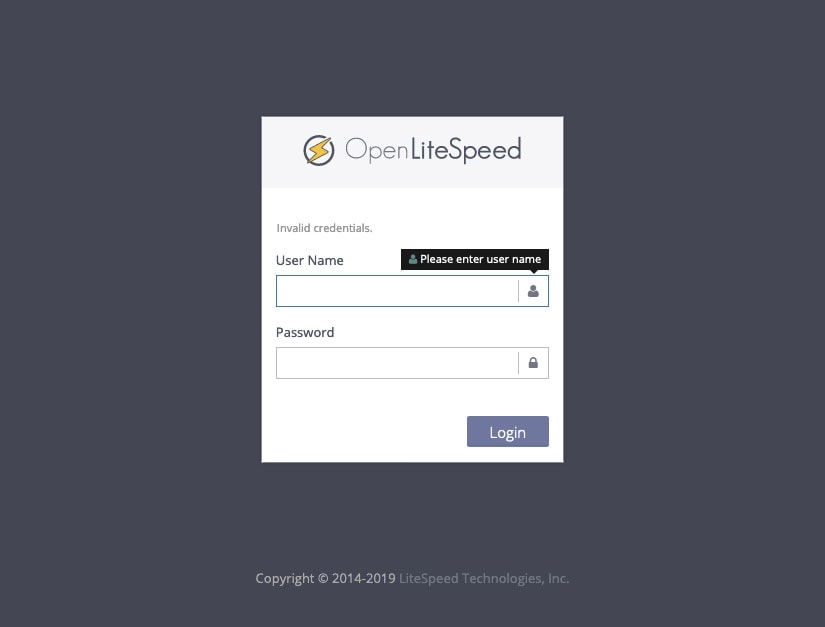
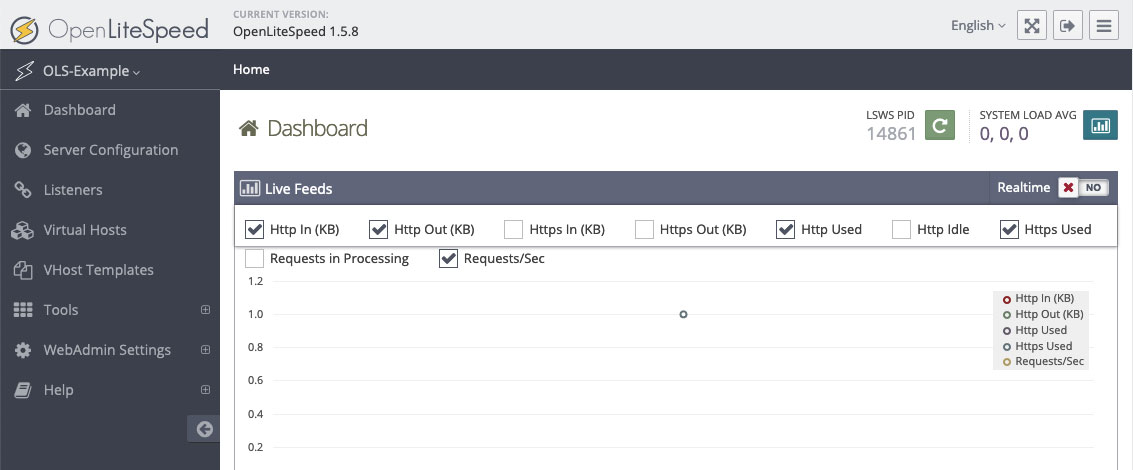
On this login screen, login using the admin login credentials you created earlier in this tutorial. You should now see the dashboard like this.
This is the dashboard where we will configure the server level configuration of OpenLiteSpeed.
Enable Port 80 to serve your website
OpenLiteSpeed server, by default, listens to port 8088 to server the web pages. So, if you do not change this to port 80, you will have to suffix the port 8088 after your domain as well to be able to open your website.
Let’s make our OpenLiteSpeed listener to listen on port 80 instead of 8088.
Go to Listeners >> View/Edit
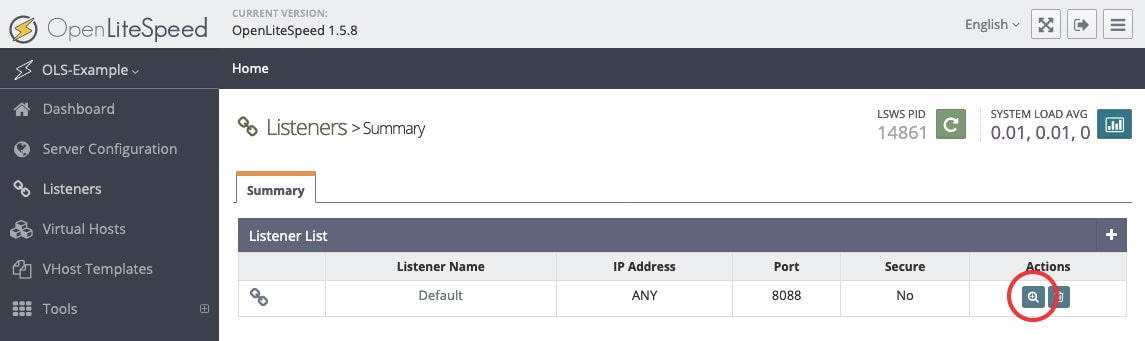
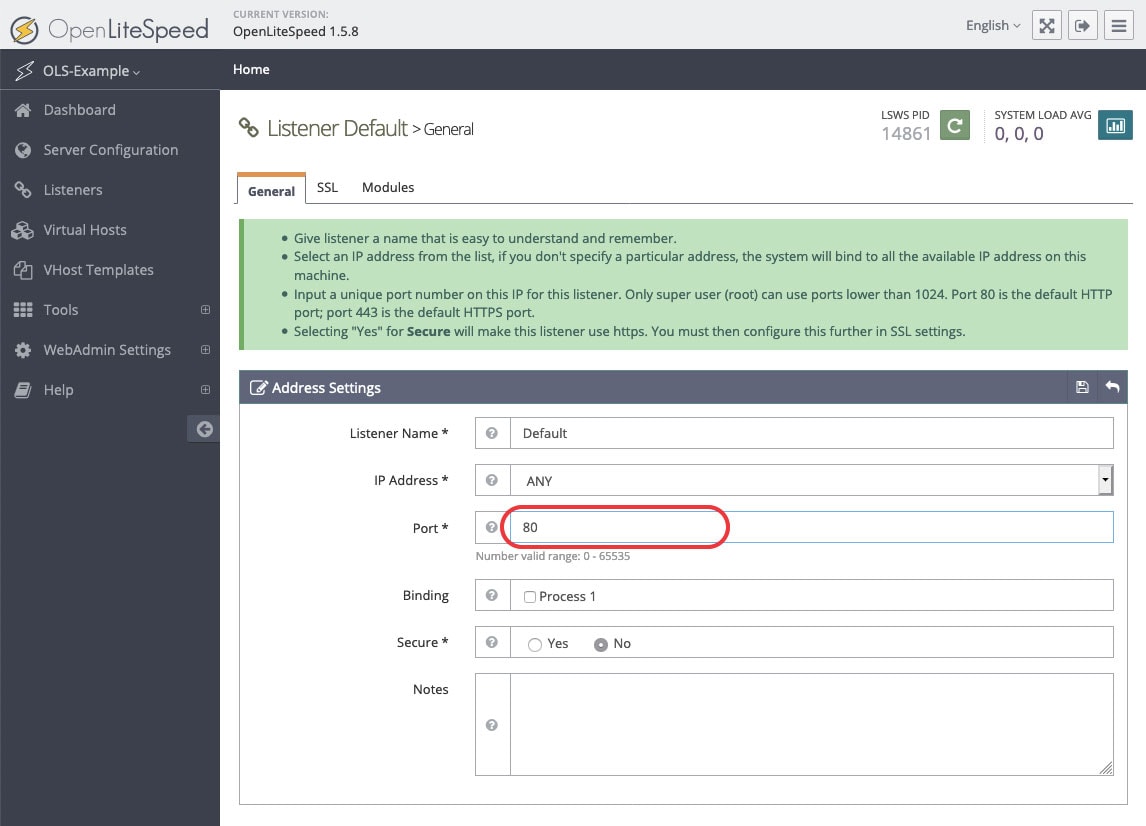
The default listener would be listening on ANY IP address on port 8088. Click edit button on the Address Settings header.

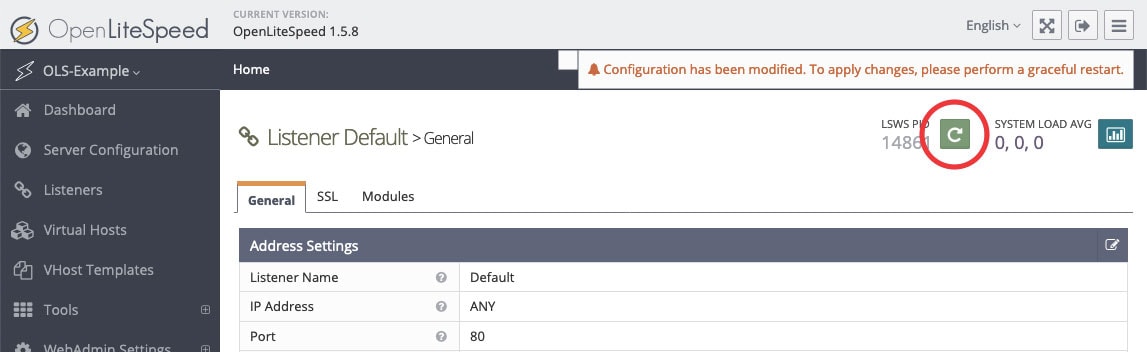
Just replace 8088 with 80 and click save icon on the top right corner.
We need now to gracefully restart the OpenLiteSpeed server to be able to execute the changes we have recently made.
Now, you should be able to view your server default page when you hit your server IP in the address bar.
Let’s make your listener to listen only for a domain name and not the IP.
On the Default listener page, click on the edit icon after the Example virtual host mapping.
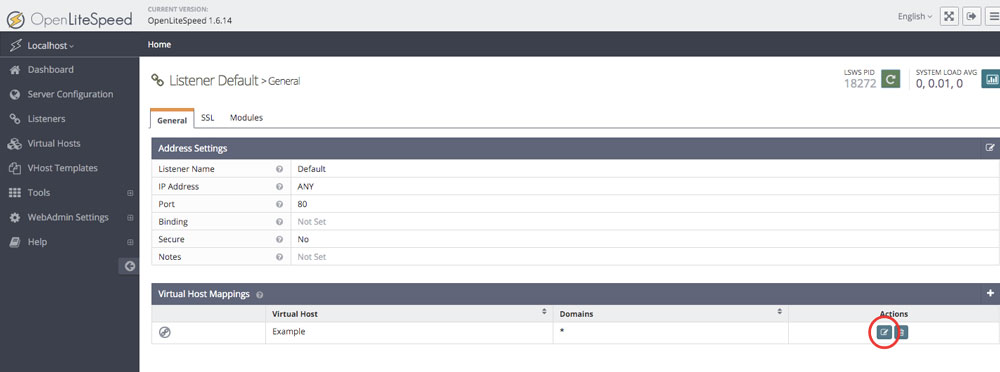
Type the domain name you want your server to listen to. You can add a www alias here also.

Save the virtual host map and click on the graceful restart icon to restart the server.

Voila, you can now point your domain name on the server IP and your domain should open the default server page now.
Your document root for this virtual host is
/usr/local/lsws/Example/html/
Now you can connect to your server using Filezilla over SSH on port 22 and upload the CMS files into this directory and you will be able to visit that on your domain.
What is Next?
You can now install WordPress on OpenLiteSpeed server or the CMS of your choice developed on php. It supports PHP, Ruby, Python, Perl, and Java external applications.
Conclusion
OpenLiteSpeed is one of the best server package and is the open-source version of LiteSpeed Enterprise server. You get the freedom to choose the number of websites you want to host and the number of workers you want on your server; that too for FREE.
Additionally, LiteSpeed caching lets you enable the fastest caching for WordPress. You can install 1 caching plugin for the best acceleration for your WordPress site.